Bad Posture Is A Common Problem For Many, Read On To Fix Your Poor Postures And Add It Into Your Daily Workout Routine!
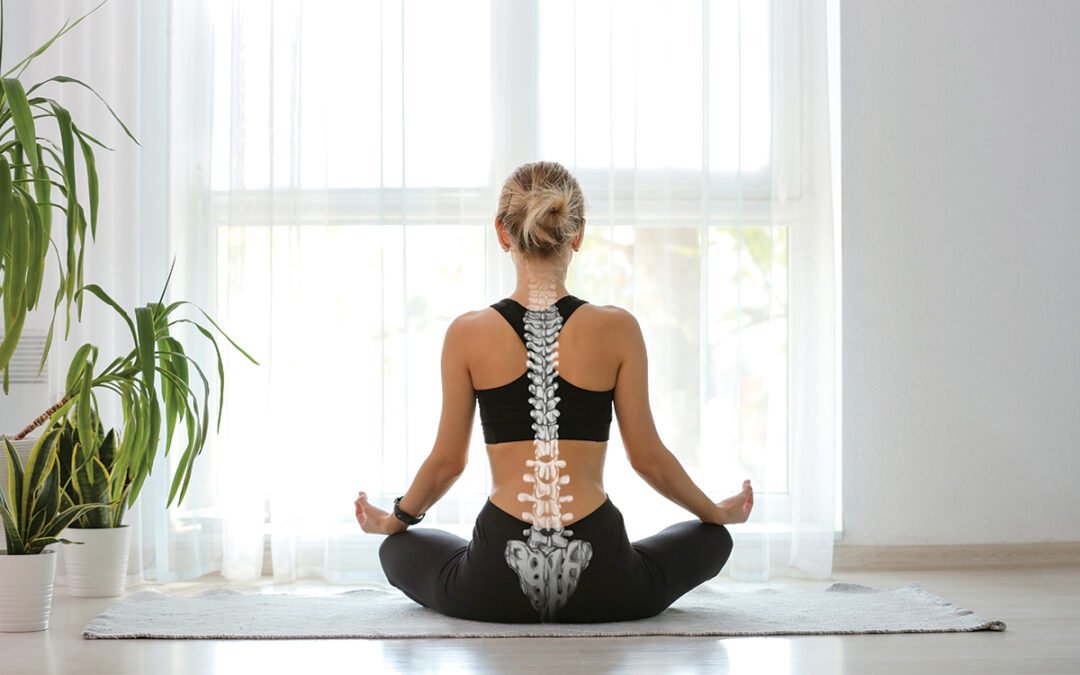
Slouched shoulders, forward head posture, rounding of the back, or excessive arching of the lower back: these bad postures cause aches and pains in the body. But the good news is that you can make use of exercises to fix your posture and manage your back pain. The term posture defines the position of a person’s body when standing, sitting, or lying down. And a good posture can also boost a person’s self-confidence. It also has long term health benefits such as: reduced back pain, decreased risk of injury, reduced stress on the muscles and joints, improves circulation, digestion, respiration, and flexibility. As people begin to improve their posture, they may gain consciousness for their body and commence to sense when their muscles feel tense and become more attuned to misalignments in various areas. Thus, we have curated the following posture exercises into 3 sections: Whole body posture exercises, Upper back/neck posture exercises, and lower back and core posture exercises. So, dive in and get to know it all!
1. WHOLE BODY POSTURE EXERCISES
Cat & Cow Stretch


The cat and cow stretch is a great spine mobility exercise that you can do to relieve tension in your torso, shoulders, and neck while promoting blood circulation. It also helps in energizing your lower back muscles.
How to do it:
- Go down on your hands and knees with your weight balanced evenly between all four points.
• Inhale and look up, dropping your abdomen down toward the ground as you extend your spine.
• Exhale and arch your spine gently and Inhale and tighten your core muscle while you round your back.
• Continue this movement for at least 1 minute.
• Aim for 10 repetitions.
2. UPPER BACK/NECK POSTURE EXERCISE
a. Upper trapezius stretch

Upper trapezius stretch
This will stretch out the neck and upper back muscles (Scalene & Upper Trapezius) which can get very tight on individuals with this forward neck syndrome.
How to do it:
- Start in either a standing or sitting position.
- Place one of your hands on the opposite side of your head and tuck the other hand behind your back.
- Now bring your head down towards your shoulder.
- Use the hand on top to press your head down to get a deeper stretch (Not too hard).
- Hold for 20-30 seconds and do both sides.
b. Standing Pull

Standing Pull
This will help strengthen the muscles between your shoulder blades and the back of your shoulders to ultimately allow you to have the strength of maintaining a proper posture.
How to do it:
- Begin in a standing position.
- Hold a resistance band (level of resistance you use depends on your individual strength level) with both hands, straighten your elbows and bring your arms out in front of you.
- While keeping your elbows locked, slowly move your arms out and back behind your body. You should feel the muscles between your shoulder blades contracting.
- Only go out as far as comfortable. Some muscular discomfort (burning) is ok, but pain in arms or neck is not.
- Avoid shrugging your shoulders towards your ears.
- Repeat 2×10, gradually increase it to 3×10.
- If it does not feel challenging, increase the level of resistance on the band.
3. LOWER BACK & CORE POSTURE EXERCISES
a. Kneeling Hip Flexor Stretch

Kneeling Hip Flexor Stretch
The kneeling hip flexor stretch helps to lengthen and tighten up hip flexors that are often seen in individuals having anterior
pelvic tilt.
How to do it:
- Begin this stretch by kneeling on a soft surface.
- Put forward your right leg and place your foot flat on the ground so that your knee is positioned over your right ankle.
- Your left knee should remain in contact with the soft surface and should be bent at 90 degrees.
- Slowly slide your right foot forward a few inches while bracing your core.
- Squeeze your right gluteal muscles and shift your hips forward.
- Your left knee should now be bent slightly more than 90 degrees
- Hold the end position for 10 seconds.
- Aim for 10 repetitions of this stretch and perform it on both the sides.
b. Bird Dog Exercise

Bird Dog Exercise
This exercise is ideal for improving your core strength and lumbar back muscles.
How to do it:
• Begin, with your hands positioned under your shoulders and knees positioned under your hips.
• Brace (contract) your core as hard as you can before beginning any movement.
• While bracing your core, raise your left arm and reach forwards until it is aligned with your torso; at the same time, kick your right leg backwards until it is aligned with your torso.
• It’s important to not arch your low back as you do this.
• Hold this position for 2-3 seconds before slowly returning to the starting position.
• Repeat with your right arm and left leg.
• Alternate sides for 10 repetitions.
• Only extend your arm and leg to where it’s comfortable and don’t arch your lower back.