


Want to achieve the perfect flush every time? Here is how you do it, read on!
Blush goes on the apples of the cheeks. But hey, don’t forget the cheekbones, and don’t apply using your fingers. Actually, fingers are better. Use a brush, no, use a sponge. Overwhelming, isn’t it? We get it. Every single person out there has a different opinion on the correct way to apply blush. But, let’s bust that myth for you: there is no right or wrong way to get the perfect flush. Yes, there are some tricks that will get you that perfect flush each time you bust out those little pots of pigment. But the most important factor here is trying different things and seeing what works for you and what doesn’t, and taking into account your face shape, comfort level, and the look you want to achieve. But if you’re truly overwhelmed and trying to look for the best way to achieve that perfect flush every single time, well then, you’re in luck. We’re going to tell you the best tips from actual makeup artists that will ensure your cheeks have that perfect pink flush. So, read on!
PICK THE TEXTURE OF THE PRODUCT


Go for the texture you like best – powder, liquid or cream.
The first and foremost step is to decide what sort of product you want to pick. There are many options, you could go for a powder, liquid, or cream blush, it all depends on the look you want. You are free to wear any finish in blush as long as you keep in mind the end look. A liquid blush will blend smoothly into the skin and gives a natural look. Creamy blushes give a fresh, dewy look and if you choose to use a powder, it will provide you with a little flush of colour. You also need to keep in mind your skin type. For dry skin, creamy or liquid blushes are perfect and will also hydrate the skin. A powder on the other hand, might end up emphasizing dry spots and rough textures. Oily skin types need to stay away from the ultra-dewy, hydrating creams and liquids as they will emphasize the slick look and ruin your makeup.
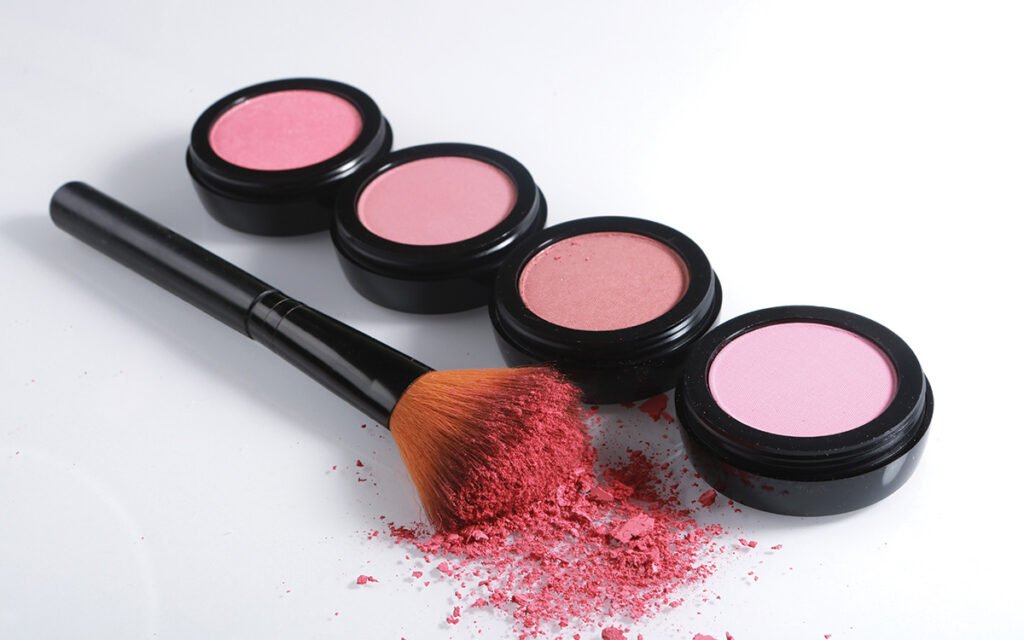
LOOK FOR THE PERFECT SHADE

From purple to pink, there are countless shades of blushes available these days.
Starting off, we’d like to just point out that you could pick any colour your heart desires. You want a yellow blush, you want to go the purple route, or you want a light, barely-there pink blush, anything you wish, you can use. But, that is not to say that if you wish to achieve a seamless, natural, and flattering to your skin finish, you need to listen to the pros and pick the colour that suits your skin tone. Fair-skinned people will benefit from soft pinks and peaches that will give you a little pop of colour without overpowering your skin. And if you do wish to use dark shades, try to use less product and add on little by little. If you have a medium skin tone, you actually have a lot of options, you can play around with almost every shade, from violet to deep red, and you will be able to pull them all off. Pinks and peaches will also look perfect. Now if you have an olive skin tone, you would do well with peachy or bronze shades. Pink might also work, but that actually really depends upon the rest of your makeup. Now we come to the darker-skinned beauties. A bright pop of tangerine or deep plump goes perfectly with dark skin tones. You could make use of rich berry shades. The key here is to use only highly pigmented products since a good blush requires just one swipe.
DECIDE ON THE TOOL AND THE BLUSH PLACEMENT

Deciding on the tool and blush placement is really important.
Selected your finish? Does it happen to be a powder formula? Well, you’re going to need brushes. If you want to avoid a clumpy look, use a good-quality blush brush. Cream or liquid blushes offer you a little more flexibility. You can use brushes, apply directly using your fingers or choose beauty blenders, they will all work perfectly. Coming to the placement of the blush, although there is no wrong spot to put on your blush, the placement is going to alter your look. Applying blush on higher points of your cheeks will help elongate your face. If you want to chisel your face upward then you can round it into your hairline, above your ear. This is also the recommended technique for those with longer or oval face shapes. Those with round faces usually choose to apply it on the apples of their cheeks. This technique is used to create the illusion of a fuller face.